

In MakeMusic Cloud, you can import your own content from MIDI, MXL, XML, MusicXML, and SMZ files to create assignments for students or to share with performers. You can use Finale, Dorico, Musescore, Sibelius, or any other notation program to export these types of files.
Jump to:
Export your notation files
Export an entire score from your notation program of choice.
-
In Finale, select File > Export > MusicXML or MIDI File and select your destination folder.
-
In Musescore, select File > Export and select MusicXML File, Compressed MusicXML File, or Standard MIDI File from the Save as type drop-down menu. Select your destination folder.
-
In Sibelius, select File > Export > MusicXML and choose Compressed (*.mxl) or Uncompressed (*.xml) or select File > Export > MIDI. Select your destination folder.
Import your file
3. Select Import MusicXML, MIDI or SMZ from the Select an option screen.
A window will appear (File Explorer for Windows, Finder for Mac), prompting you to choose a file. Once you select it, the file will load in Compose.
4. If the instrument designation or transposition of a specific staff is wrong…
Check out our guide: Changing/Verifying Instruments after Importing to Compose.
Save the content to your MakeMusic Cloud account
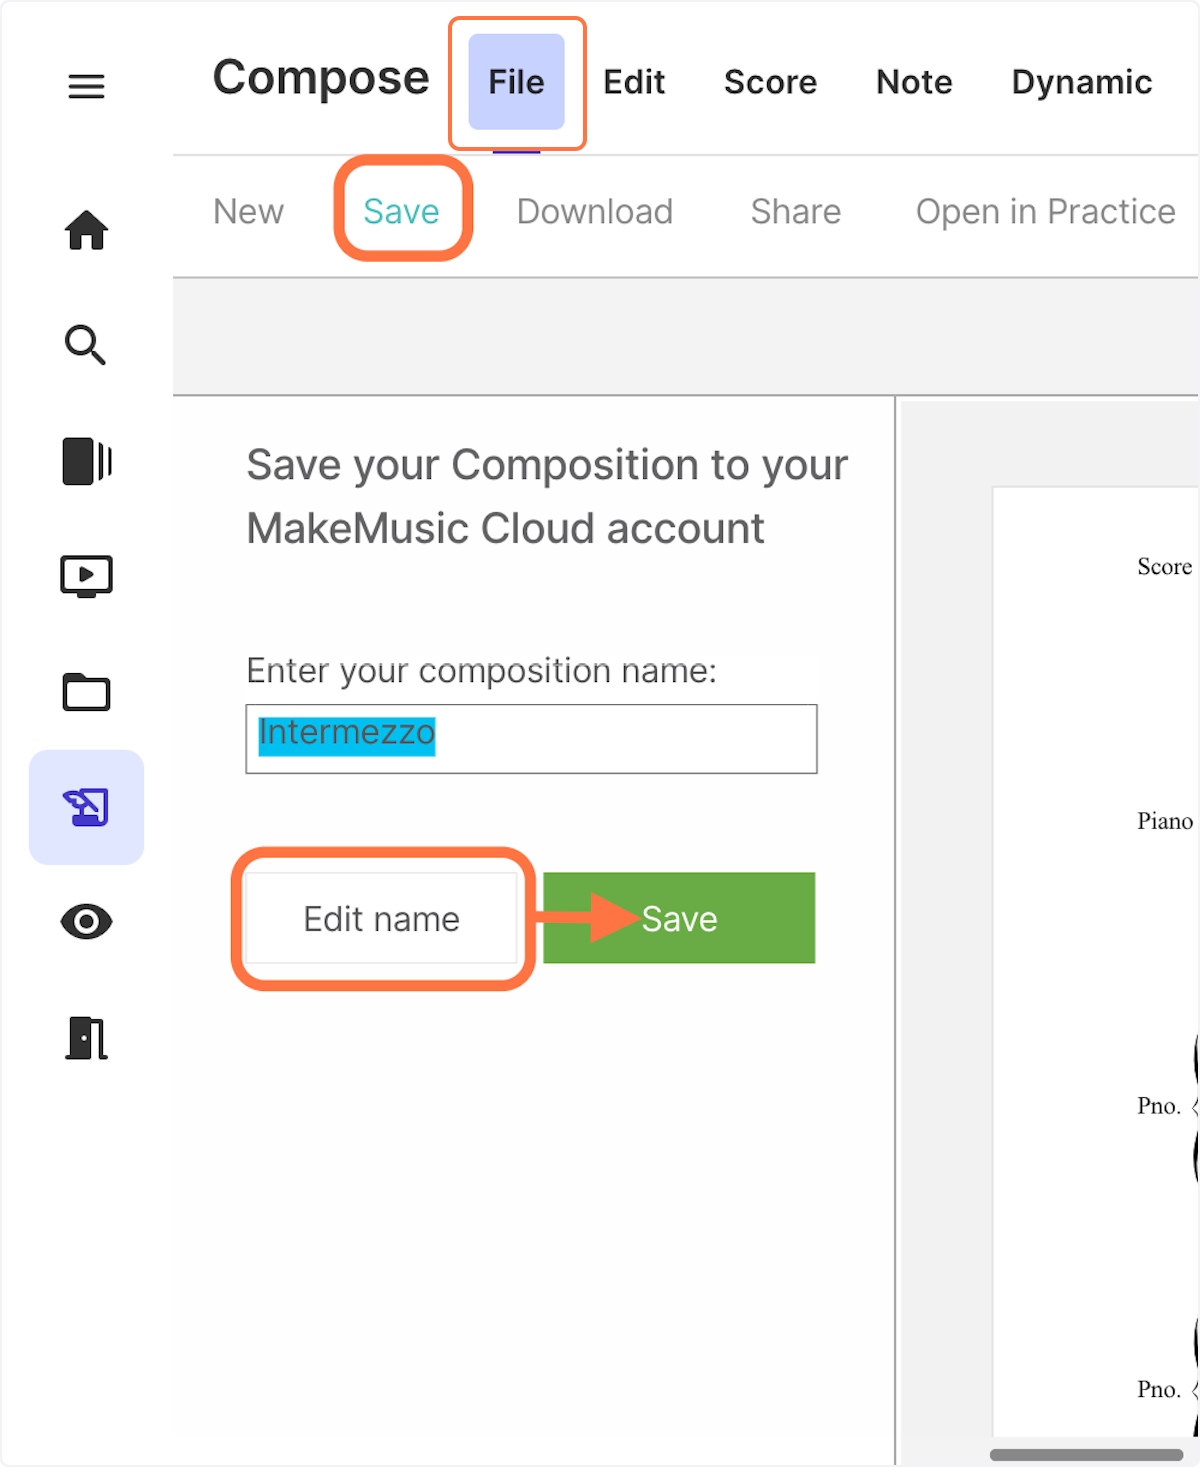
1. Choose File > Save from the menu at the top.
If you want to edit the name of the file, click Edit Name, retype the name under Enter your composition name: and click Save. The composition will save to your Content Manager. To be able to assign imported content it must be saved to your MakeMusic Cloud account.
For more on working with imported files, see: Open, assign, edit, and delete imported music.
0 Comments